

Growing your own herbs is only worth it if you actually use them! Today, we will go over drying your own sage at home.
What you will need: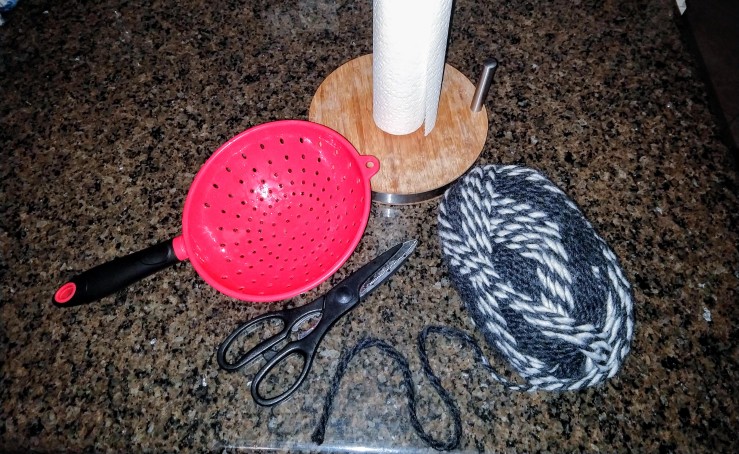
In addition to a big enough Sage plant, you will need some scissors, a colander (were you weirded out by the spelling of that word like I was?), paper towels, and string (pretend my yarn is string :] I happened to be out of string this time).
Step One: Gather your clippings
Cut a bit off the top of your plant (which will help to promote plant growth!) and place them in a colander. You want pieces connected to a main stem containing multiple leaves, but don’t cut too much! I would only take about 1/3 to 1/2 of height from a small plant or a few little branches from a bigger plant. You can see that my plant is still fairly young by the size of the stocks I cut.

Step Two: Gently Wash the Clippings then Dry
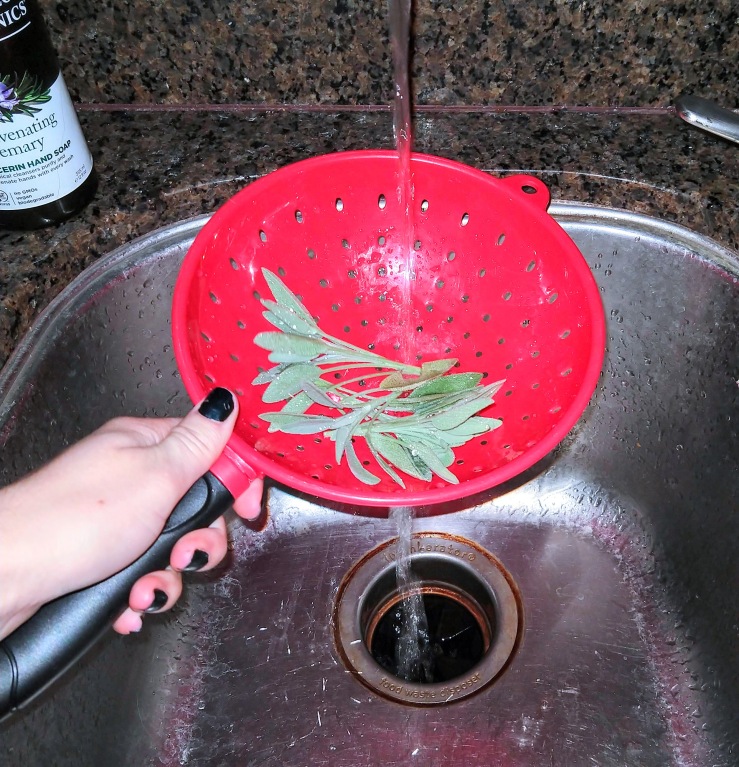
Run the clipping under cold water in the colander while gently moving them around with your hand to be sure that any dirt, bugs, or other unsanitary things are removed.
After a gentle cleaning, lay your sage on paper towels to dry (I give them a small shake to get the water out before I let them sit for a few minutes).

Step Three: Remove Unwanted Leaves
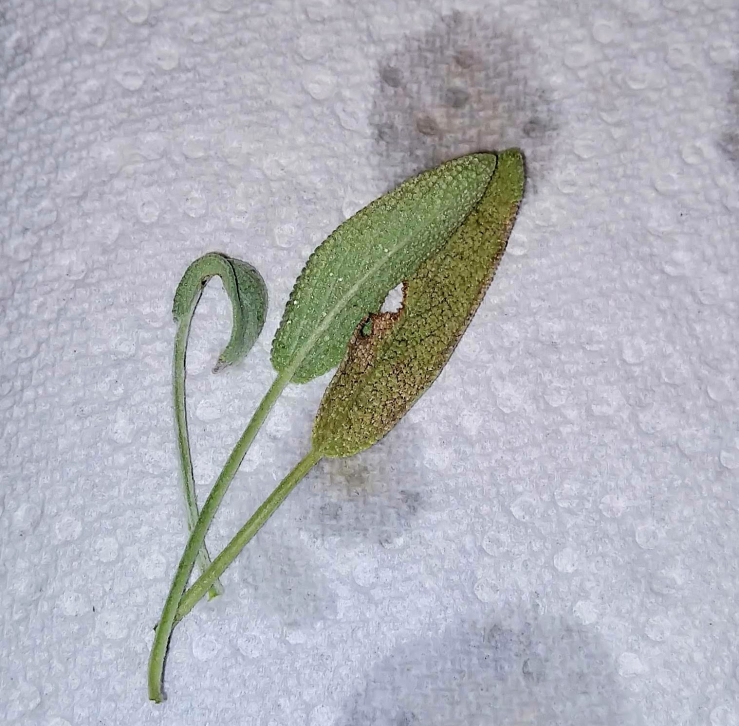
Remove any bug chewed or dying leaves. I think the “imperfect” leaves would dry just fine, but I want mine to be only the best for cooking, it’s really up to you! It is your kitchen after all!) I was really lucky since my plant only had a few discolored or chewed leaves, just luck this time!
Step Four: Tie and Hang!
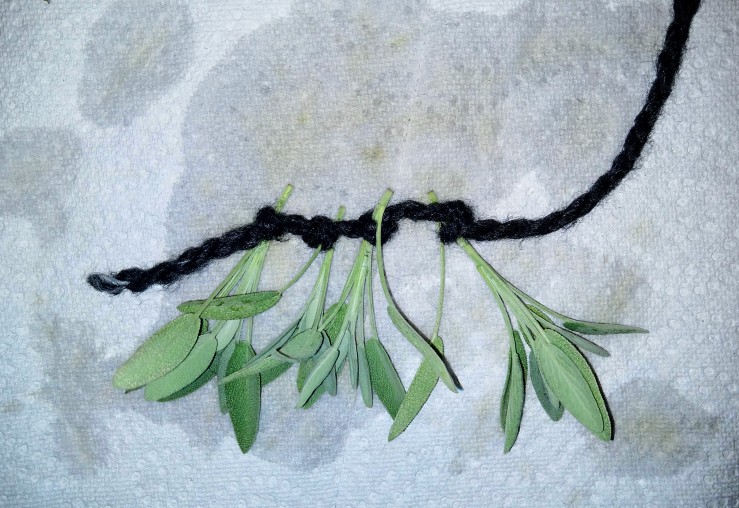
Tie your stocks in separate knots that are pretty close together (you can do all of them together but mine always slip out unless I tie them individually). I suggest wrapping the string around the majority of leaves leaving a small stem of one of the leaves out to keep the knot from slipping off. I use a basic square knot (like the beginning of tying your shoes).
Find a place to hang them where they won’t get bumped, but you can still check on them as they dry. They should also get a bit of sunlight. I hung mine under the cabinets in our kitchen on a plastic thing that appears to be a mount from an old microwave where we don’t reach for things as often.
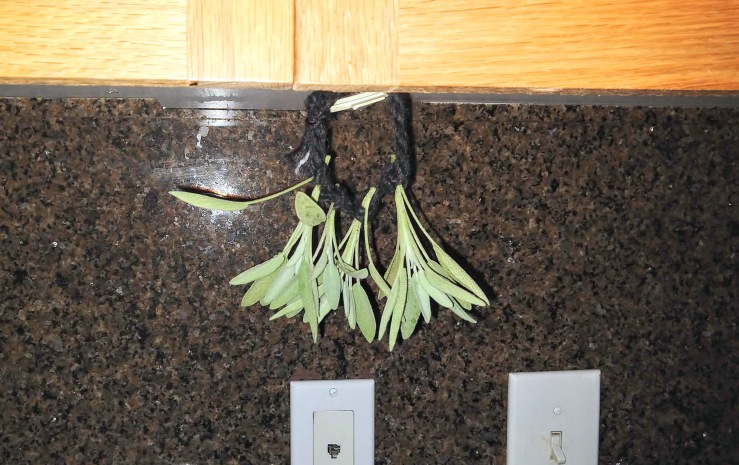
Doesn’t it also make a cute addition to the kitchen decor? Aesthetic bonus!!
Step Five: Remove and Utilize!
After about 7-14 days you should have crunchy dried leaves that aren’t brown! They should still be green, but they will be smaller, crunchier, and more curved.
You can keep them as whole leaves to throw in soups or meat dishes, or you can grind them up to use as ground spice for cooking/baking.
Bonus idea: You can also keep them as a stock of leaves to bundle (with the proper string) to make a sage smudging stick! Super cool and will save you some money! (Should I do a tutorial on making sage smudging sticks?)
I usually keep mine as whole leaves and grind them if I need smaller pieces for something.
And that’s it! Super easy and kind of a second thought. Just a few minutes to wash and tie up the clippings to have your own dried sage for all your herbal needs!
Please let me know what you thought of this tutorial (whether it was helpful, entertaining, or anything at all) and share your advice, experiences, and uses for home-dried herbs!
Thanks for looking, and don’t forget to follow and subscribe to email notifications (with the email you use to sign up for random junk on the internet)!

